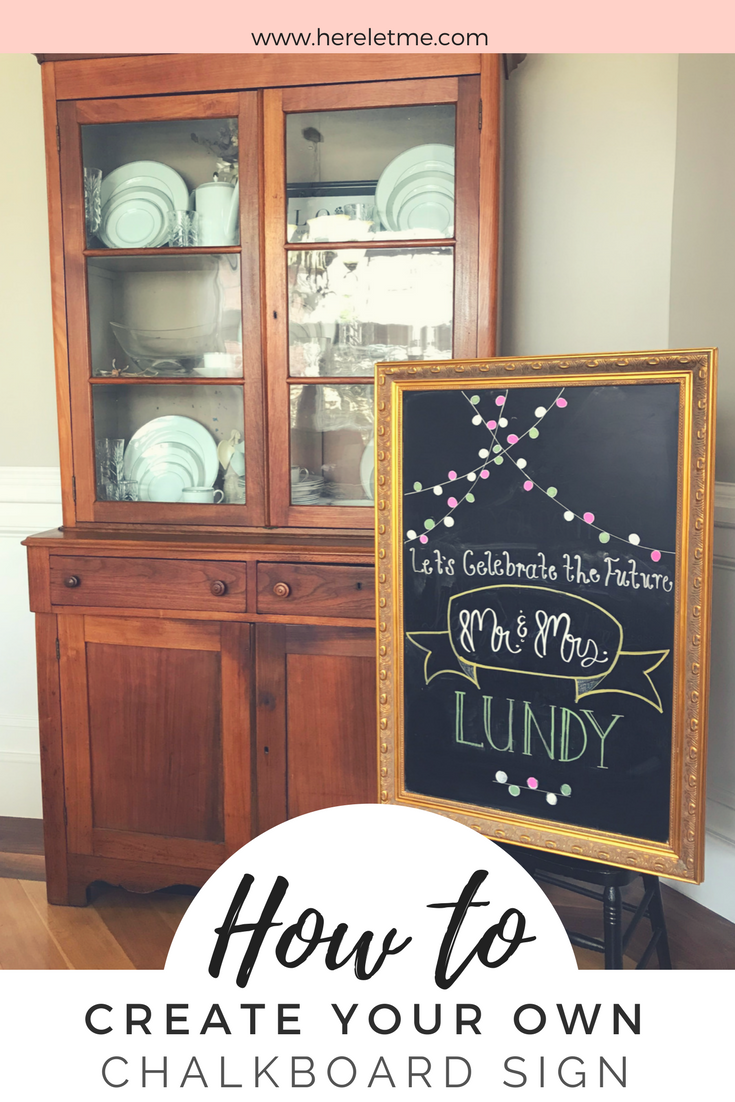
How to Create Your Own Chalkboard Sign
How to Create Your Own Chalkboard Sign
Is it just me or are chalkboards all the rage these days? Matte black, a pop of white (or colored) calligraphy, and a catchy quote apparently equals home decor perfection. I love to make chalkboard signs (maybe it's my crazed love for all things chalk paint). I've made chalkboard signs for my kid's first day of school, for home decor in my living room or kitchen, and I've even made them for special events. Last week, my aunt asked me to make a few signs for a couples shower and I obliged. Seeing her reaction to the finished product made me so happy and I'm even happier to share the steps to making your own chalkboard sign!
Chalkboard Sign DIY
step one| Gather Your Supplies
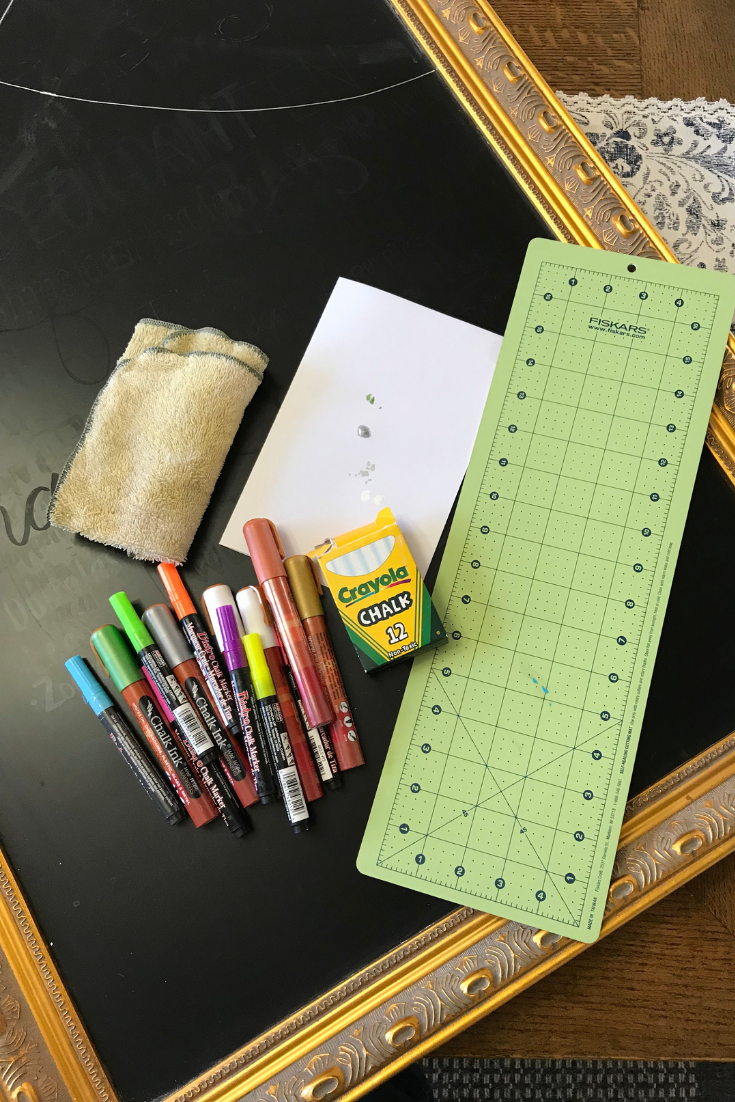
If you're an old soul, you could use actual Crayola Chalk sticks, but let me tell you there is more to life than that. You will need old school chalk, but to create the look I know you're going for, you will want to invest in chalkboard ink markers. Here are the supplies needed to create your own chalkboard sign:
Chalkboard Ink Markers (local friends, I picked mine up at At Home Market)
A ruler, yardstick, or one of these handy Cricut rulers that fit my chalkboard perfectly
A Magic Eraser or damp cleaning rag
Scrap paper
step two| Make a Plan

Chalkboard 1.png
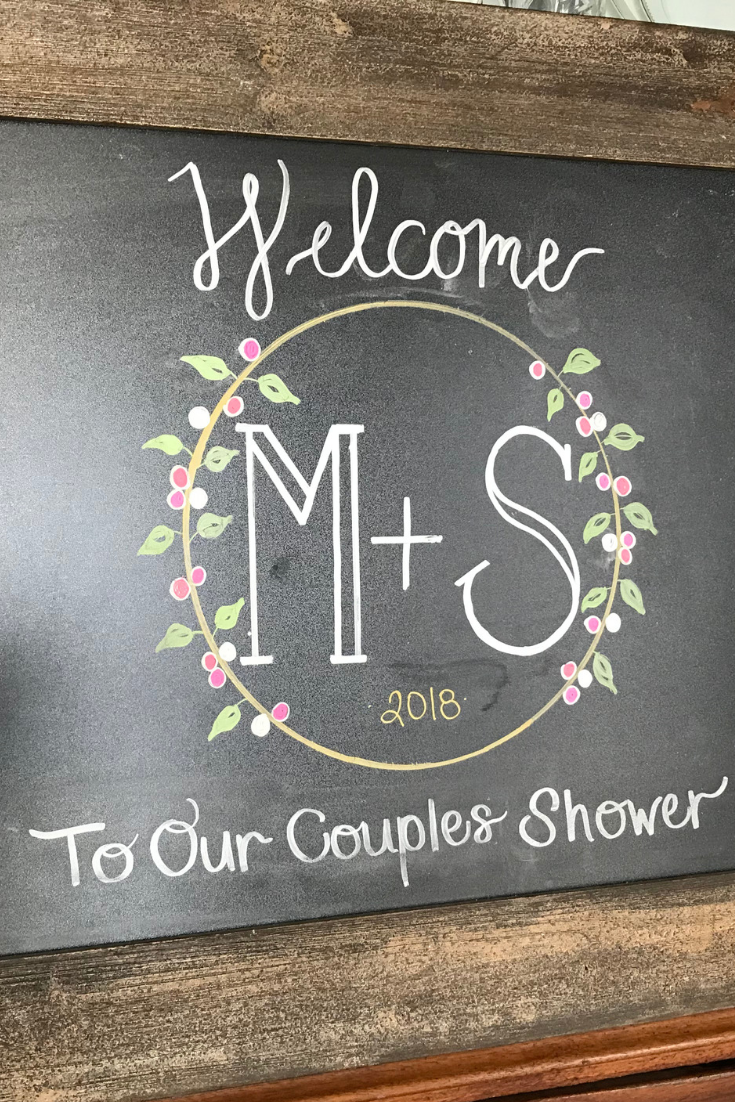
I could have sworn I took a picture of the Couple's Shower invitation that I used for inspiration for the chalkboard signs I made for my aunt, but thumbing through my camera roll has proved otherwise. Before I put chalk to board, I created a vision of what parts of the invitation I would use on the chalkboards. On the invitation was a beautiful wreath with green leaves and pink berries. I also wanted to incorporate the colors on the invitation onto the chalkboard signs. To tie the two chalkboard signs together, I planned to create a garland with the same "berries" across the top of one chalkboard and the wreath and berries on the other.
step three| Prep the Markers and Board
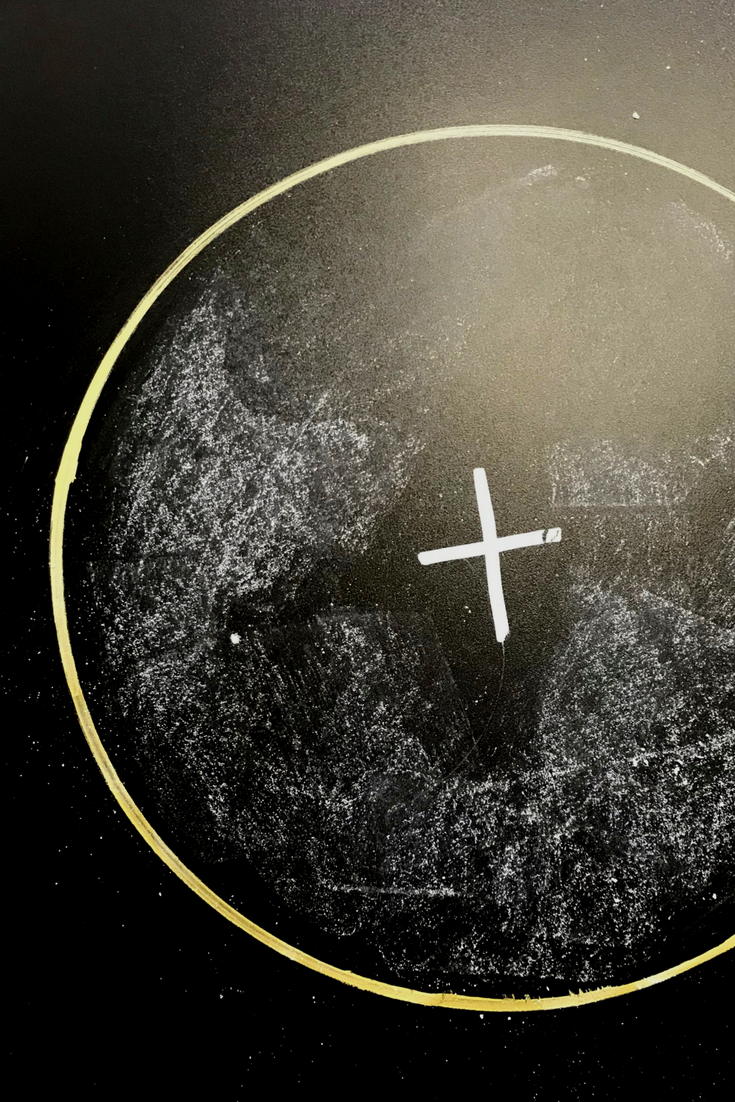
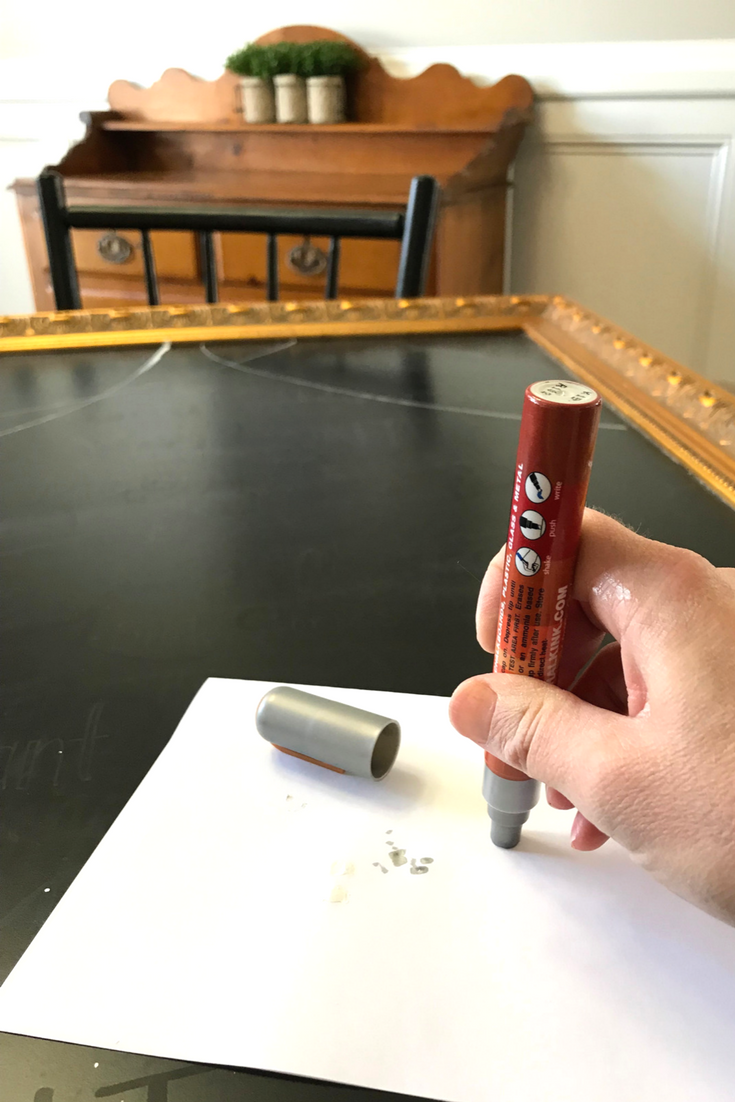
Now that you have a plan for your Chalkboard Sign, you'll need to do the prep work. If you're starting with a new board, grab your Crayola Chalk stick (and your earmuffs). Laying the chalk stick on its side to cover a wider area at a time, press the chalk firmly into the board and cover the entire surface with chalk residue. The picture on the left shows how I did this within a circle that I'd already painted onto the board. I have already used these boards, so I didn't need to do this step again, but I wanted to show what I meant. Once you've covered the area with chalk you can wipe it all back off with a hand or dry cloth. To prep the markers, shake the markers for a few minutes. My kids wanted to get involved by this point, so I gave them the task of shaking the markers for me. Next, press the marker tip into a piece of scrap paper (the tip will go inside the marker shell) and wait for the ink to begin to fill the brush tip. This will take a minute or two.

Creating a Chalkboard Sign
If you've already used your chalkboard, skip the misery of dragging that chalk stick across the board. Your ears will thank you. Instead, just clean off the chalkboard with a damp wash rag. If the rag isn't removing the ink as well as you'd like, a Magic Marker will usually do the trick. Hey, look! There's a glimpse of that invitation!
step four| Hold Steady and Create!

Here's where creating a chalkboard sign will get real. Let's face it, some of us just do not have the gift of beautiful handwriting. Admittedly, I've been complimented on my handwriting before, so I felt confident the first time I tried to create a chalkboard sign (although each of these signs did take me over an hour each to complete). I'm a bit of a perfectionist. When I'm making chalkboard signs, I do A LOT OF ERASING AND STARTING OVER! You are going to have to be a perfectionist to make your signs look good. Take your time. Step back and evaluate. What needs a little work? If something doesn't look quite right, wipe it off and try again. Make yourself proud of your work.
Going back to the invitation for inspiration, I wanted to create a banner in the middle of the board that said "Mr. and Mrs." I loved the font on this coffee mug that I'd found on Pinterest. First, I used my ruler and chalk stick to make two parallel lines across the banner, so that I had guidelines for the top of each letter and the bottom of each letter. You can see where I did this around the word "future" on the picture above. Next, I studied the way the lines of each letter flowed and made my best attempt to recreate it on the board. Until I got it just right, I used my damp rag to erase and start over. Erase and try again. When one letter was satisfactory, I moved on to the next. Treat every letter like a new character. Even if you're going for a cursive look like this one, pick up your chalkboard ink marker and start each letter new. You can connect them later.

Chalkboard Sign inspiration
step five| Add the Finishing Touches to Your Chalkboard Sign

How to Create a Chalkboard Sign (6).png
I like to use various fonts when I create my chalkboard signs. I'll use tall skinny letters, flowy cursives, block letters, etc. I find easy ways to add finishing touches to the chalkboard sign with hearts, scrolls, garlands, or leaves. Get creative, look online for font and embellishment inspiration, and practice, practice, practice!
Have you made a chalkboard sign before? Was it for your home? A party? A first day of school?
